I found some bargain yarn at the Aintree stitching show in a lovely mid blue. Instead of doing the sensible thing, which is make the not-spiderman-but-is-really (ravelry link) (for copyright reasons) sweater Joel wants, for which it’s the exact right shade and weight, I am making a not-Harry-Potter sweater (ravelry link) for Lily.
That Weasley Girl is a pattern based on the cardigan Ginny wore to the quidditch world cup, apparently. I don’t remember the original, but this looks lovely so I’m going for it.
Another previously unseen advantage is that the pattern is essentially a DIY recipe where you take measurements then work out how wide & long you need to make it (having determined your gauge, which it turns out was spot on. Again. The repeated success here doesn’t incentivise me to keep checking. And then the one time I don’t check, I’ll be waaaaay off). So, it’s taught me something about sweater construction (in an articulating-what’s-common-sense kind of way) and I’ve been able to tailor the cardi to Lily’s slim long body & (apparently, freakishly) long arms.
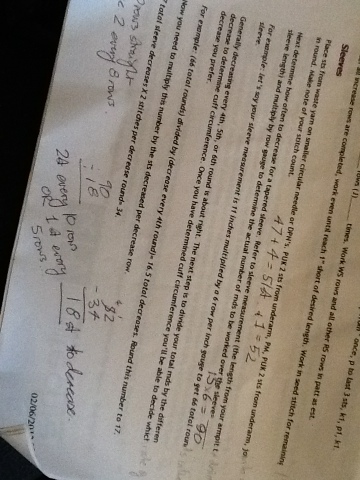
So, I read through the pattern, did some measurements, and worked out the things I needed to work out. Or so I thought. More, in the style of the pattern, on that later.
I cast on at the start of a should-be-3-hours journey to Abersoch. Although I’d read it in the pattern, I hadn’t registered that the top part, which forms the yoke, was in seed (or moss) stitch. This is k1-p1 rib, without the benefit of matching stitches row to row. In other words it’s slightly fiddly *and* annoying. Plus, this had raglan increases thrown in for good measure. As I embarked on the task and we embarked on the journey I sighed, possibly more than once.
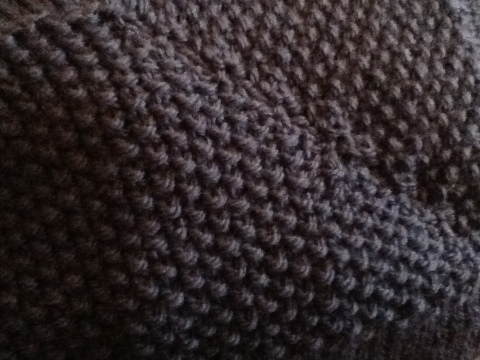
Although the journey ended up taking something like 4 or 5 hours, the knitting wasn’t as much hard work as I had anticipated. Indeed it kinda flew by. To the point where I suddenly realised that the pattern lacked an important detail: at what point does one stop doing raglan increases, put the sleeves on waste yarn or stitch holders and start working straight down the body. In the excitement of detailing how to work out shaping for the adult sizes, the pattern author had forgotten this fairly crucial detail.
So, having got to roughly where I thought I was in danger of running over, I set aside the cardi and finished off the BSJ I had brought as secondary knitting for the trip. This had the added advantage of freeing up some “waste” yarn for putting the sleeves on, which I’d forgotten to pack.
So, once at the luxury caravan that was our destination, I got out my pencil & calculator and worked out that to have the right number of stitches round the body (a 28″ body, based on 4.5st/” ) I needed to increase until there were (((28*4.5)/4)-4)/2 stitches on each front. Which, as I’d thought, wasn’t far off.
The body then was a breeze of (reverse) stocking stitch which I ploughed through.
By the time I got to the sleeves, I had come home again without Steve & the kids, and unfortunately discovered a measurement I needed which I hadn’t acquired: cuff circumference. You need to know this in order to work out how many & often to decrease the stitches on the sleeve.
So instead I embarked on the hood. This was all going fine until I got to the bit which said “knit this until it fits over the head, then bind off”. I didn’t have the relevant head.

Fortunately, the relevant head & shoulders arrived back in the nick of time, so we were able to have another measuring session at which point I worked out how big to make the hood, and promptly over-knitted by an inch. So it’s a generous hood.
I’ve measured for cuffs, and have now done one sleeve. The second sleeve is in progress amid its looking good so far. Plus, given that the bulk of the cardi is in reverse stocking stitch, I like to think I’m being quite clever in knitting them inside out, so that I only have to knit and not purl until I get to the seed stitch at the cuff…
Ta-daa. And on with the show.